 Your Name Inbox
Planning a switch to a new email provider
Last reviewed
The quick version
- List what you have before you touch anything.
- Copy old mail into the new mailboxes.
- Test on real devices, then switch over.
Why plan at all
A new provider means new mailboxes. Your old mail doesn't move on its own. The plan below keeps it from getting lost.
The step that points your domain at the new provider is a DNS change. This site doesn't cover DNS records. Your new provider's setup guide gives the exact values.
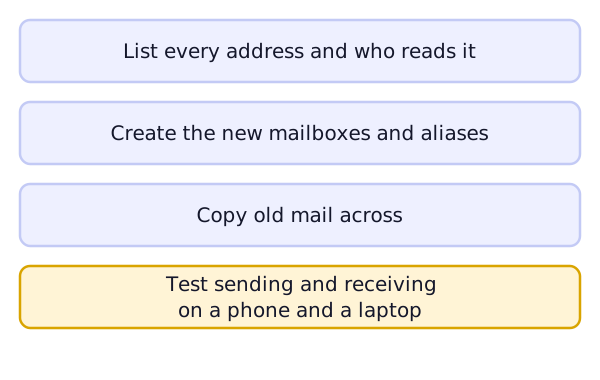
Step 1: Make a list
Write down every address on your domain. Next to each one, note who reads it, and what kind it is: mailbox, alias or forwarder. The address types page explains the words.
Also note which phones and computers have each account.
Step 2: Set up the new side
Create the mailboxes and aliases at the new provider. Make them match your list. Check the new provider's limits and best practices first. Microsoft, for example, tells administrators to review the limits for Exchange Online before a migration.[1]
Step 3: Copy old mail across
Old messages sit in your old mailbox. You can move them in a few ways.
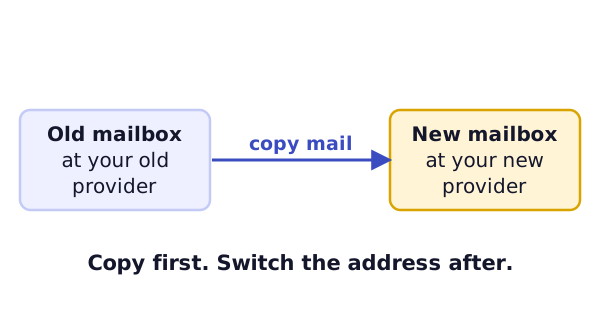
Microsoft describes two for its own service. An administrator can migrate email from another IMAP-enabled email system.[1] And users can import their own email, contacts and other mailbox information.[1]
IMAP helps here. It keeps your folders on the server like local folders.[2] With Microsoft's IMAP migration, only the items in the inbox and other mail folders are copied.[1] Contacts, calendar items and tasks can't be copied that way, so you move them by hand.[1] Create the new mailboxes before you start the copy.
Not every provider offers a tool. Ask yours before you decide.
Step 4: Test
Do the first copy. Then send mail between two of your own new addresses, on a phone and on a laptop. If that works, make the switch: point your domain's mail records at the new provider.
Only after the switch will mail from outside reach the new mailbox. So send a test from an outside address once the switch is done.
Mail that lands in the old mailbox after your first copy isn't copied. Keep the old mailbox for a while, check it, and run a second copy if you need to. It's your safety copy.
Step 5: Fix the apps
After the switch, phones and computers need the new server settings. See adding your email to a phone or computer.
Save the contents of any mailbox you plan to close.[3] Microsoft lists that as a step when an employee leaves, and it's a sound habit for any mailbox you close.
What's next
Once the new mailboxes run, you'll want to tidy the extras. See catch-all addresses, auto-replies and signatures.
Sources
- Ways to migrate multiple email accounts to Microsoft 365 or Office 365, Microsoft Learn (accessed 2026-11-03)
- RFC 3501: Internet Message Access Protocol - Version 4rev1, IETF (accessed 2026-11-03)
- Overview: Remove a former employee and secure data, Microsoft Learn (accessed 2026-11-03)